
Use email flags to mark messages for follow-up, hold, or any other classification you create. Here’s how to do it.
Audio Description of Video
Audio Description of Video
[Title: 2 Minute Training – Using Email Flags]
[Chipper background music plays]
[Scene 1]
Welcome to Health Portal Solutions’ training on Using Email Flags.
[Scene 2]
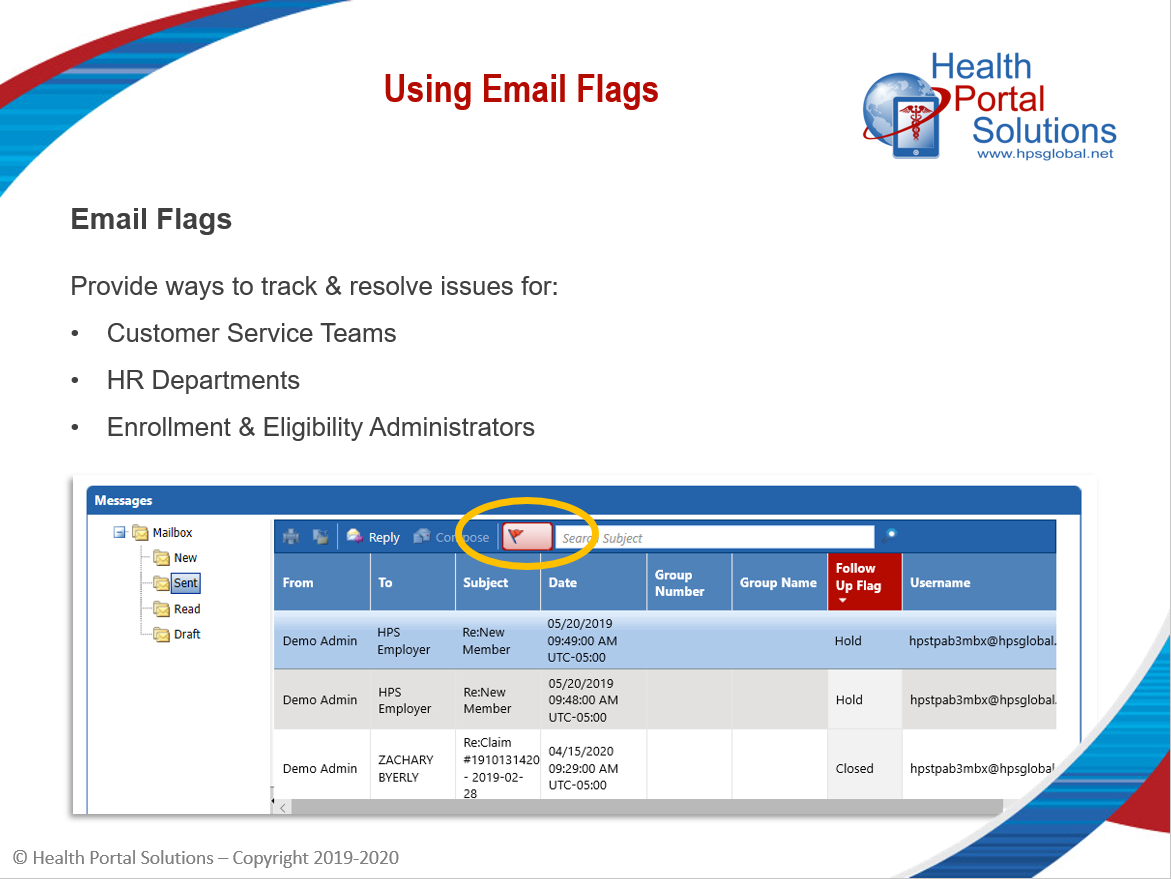
Email flags allow your team to categorize and manage the secure messages sent to you in the portal. They’re especially helpful for Customer Service Departments or HR departments in tracking the resolution of issues or answering of questions.
Here’s how to use flags to follow up on messages sent to you in the portal.
[Scene 3]
In your Mailbox, click the Flag icon. It will open up a menu showing your existing flags and giving you the ability to create new follow up flags. Create whatever flag categories you need.
Then, as you start receiving messages from users in the portal, you’ll be able to assign each message to a certain follow up flag. For example, let’s say a member sent us a question and we need to research the answer. We can assign it to the “hold” flag so that way we’re reminded that this issue still needs to be resolved.
[Scene 4]
After we’ve done our research and sent the user the answer to his question, we can assign the message to the “Closed” flag. That way when we check the mailbox later, we’ll know that this particular issue was resolved.
[Scene 5]
As you assign messages to flags, you’ll be able to sort messages by flag in order to quickly find the message you’re looking for. You can also remove a flag from a certain message as needed.
[Scene 6]
Email flags let you organize, track, and follow up on messages sent to you in the portal. Log into your portal today to get started.
[Scene 7]
Thanks for watching this training. Contact HPS Support with any other questions.
[End Audio Description of Video]